The best CS2 utility to learn first is the map-control utility on the map you actually queue – on Mirage that means the mid smokes (window and connector), on Inferno it is the banana molotov, and on Ancient it is the mid smoke. Map control wins more rounds than flashy site-execute lineups, and you only need four or five pieces per map to climb, not the forty that lineup sites throw at you. This guide triages the highest-ROI smokes, flashes, and molotovs for Mirage, Inferno, and Ancient into a per-map utility table you can learn in a weekend.
Utility is the cheapest, highest-leverage study in CS2, and it is the exact thing that breaks the 15K wall, which is purely a utility wall. Below the mid rating bands aim carries you; at 15K everyone in the lobby can shoot, and the player who throws a smoke that does something wins the round. We boost CS2 every day and this is the single most common skill gap on the orders we take. Learn the package for your one-trick map – and if you have not picked one yet, our breakdown of which of these maps to one-trick first covers that decision.
How CS2 utility works (and why it changed)
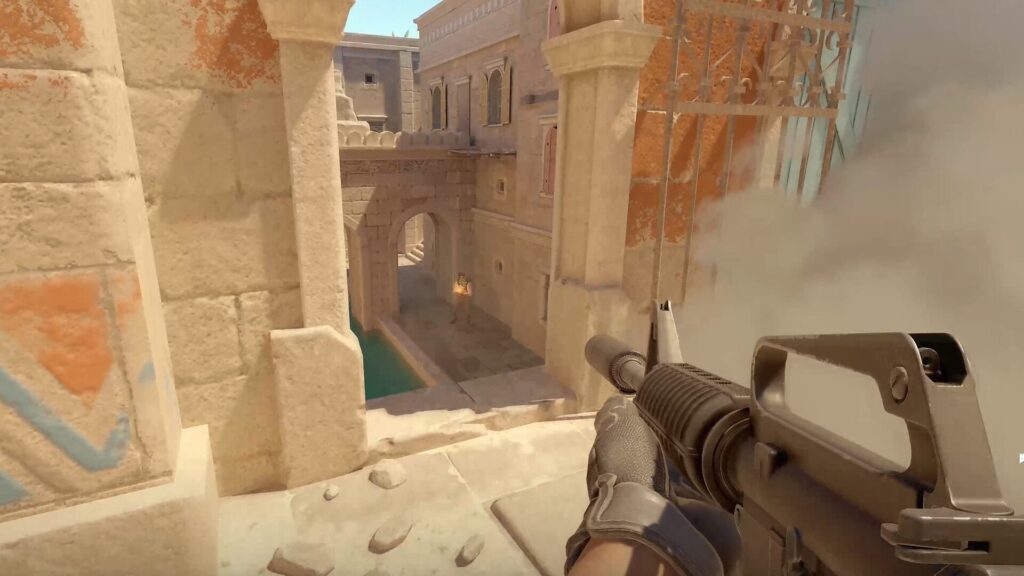
CS2 uses volumetric smokes – they fill space in three dimensions and react to the world around them. An HE grenade thrown into a smoke clears a temporary hole; a molotov burning underneath does the same; bullets fired through briefly displace the cloud. That is a real change from the flat 2D smokes of the past, and it cuts both ways: you can pop a smoke open to take a fight on your terms, and so can the enemy. Verify the current smoke interaction rules against the Counter-Strike update notes before you build a strategy around a specific interaction, because Valve has tuned smoke behavior since launch.
The practical takeaway: a good smoke is not just “block the sightline.” It is “block the sightline and know what the enemy can do to reopen it.” But that is the advanced layer. To climb, you first need the smokes in the right place at the right time, and that is what the per-map packages below give you.
The utility you learn first, by type
Before the map-specific lineups, here is the ROI order. Not all utility is equal – this is the priority for a climbing player deciding what to drill first.
| Utility type | Climb ROI | Why | Learn first? |
|---|---|---|---|
| Map-control smokes | Highest | Take the most-contested space (mid, banana) every round – compounds all game | Yes, before anything |
| Stall molotovs | High | Delay or break a push for free – buys time and trades | Yes |
| Site-execute smokes | High | Make a site takeable, but only matter on exec rounds | After map control |
| Pop flashes | Medium-high | Open a site or angle for an entry – high skill, big payoff | After smokes |
| HE grenades | Medium | Chip damage, clear smoke holes, finish lows – situational | Last |
The order is deliberate: map-control smokes earn value every single round because you take the same key space every round, while a perfect A-site execute smoke only matters on the rounds you execute A. Learn the things that pay off constantly before the things that pay off occasionally. (And learn to flash for your team before you learn to flash yourself directly in the face on the entry – we have all donated that round.)
Mirage: learn mid control first
Mirage rounds are decided by mid, so the utility that takes and holds mid is the highest-ROI on the map. Learn these and you control the most important real estate on the most-picked map in the pool.
The Mirage must-know package
- T window smoke. The single most valuable smoke on Mirage. Thrown from T spawn or top mid, it blocks the CT window sightline into mid, letting your team take mid control safely. Learn this one before any other Mirage lineup.
- T connector / jungle smoke. Cuts the CT mid-to-jungle rotate and isolates the fight. Pairs with the window smoke for a full mid take.
- T CT smoke (for A). The execute smoke that blocks the CT-spawn angle into A site, making an A take survivable.
- T stairs / ramp smoke. Depending on whether you hit A (stairs) or B (ramp), the exec smoke that closes the off-angle the defender holds.
- A pop flash over triple. A flash that arcs over the triple-box stack to blind the A-site holder for your entry. Higher skill, but it is the difference between a contested A take and a free one.
On the CT side, the same window smoke (thrown to deny T mid control) and a stairs molotov to delay an A rush are the two pieces that punch above their weight. Five lineups, both sides covered. That is the whole Mirage starter package, and it is genuinely a weekend of practice in an empty server.
Inferno: the banana molotov is everything
Inferno is the most utility-dependent map in the pool, and almost every round flows through banana. If you learn one piece of utility on Inferno, make it the banana molotov – it stalls or outright breaks a CT push there, and banana control decides the majority of Inferno rounds.
The Inferno must-know package
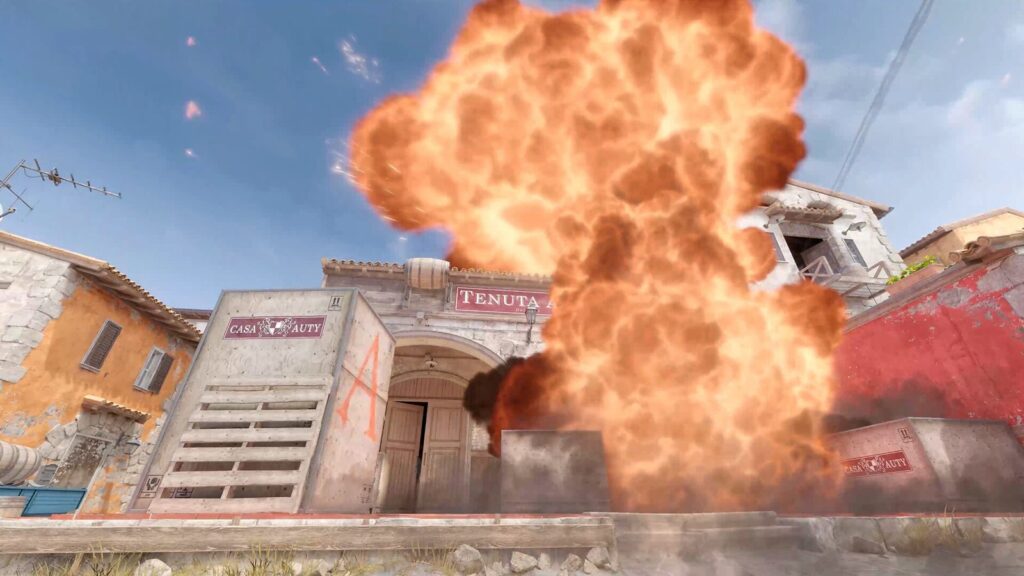
- T banana molotov. The most important single piece of utility on the map. Thrown from T spawn, it covers the banana choke to delay a CT aggression or clear a molotov-camping defender, opening banana for your team.
- T banana smoke. Pairs with the molotov to take banana control outright – block the CT sightline from the top of banana and walk up.
- T CT / coffins smoke (for B). The B-execute smoke that blocks the CT rotate and the coffins angle, making a B take survivable.
- T arch + pit smokes (for A). The A-execute package that blocks the long sightlines from arch and pit so your team can plant on A.
- CT banana molotov + flash. On defense, the molotov that holds banana plus a flash to peek it. Banana is a CT’s job to delay, and this is how.
Inferno rewards study harder than any other map, which is exactly why it climbs slower solo. But the payoff is real: a player who owns the banana utility on Inferno wins rounds that pure aimers simply cannot. The one smoke we make every climbing client learn before anything else on Inferno is the banana molotov – it is the piece of utility with the single biggest swing on the map, and most low-rating players throw it at the wrong time or not at all.
If learning lineups in an empty server is not how you want to spend your evenings, our team can push past the utility wall with a Premier rank boost – real players who already have every lineup on these maps memorized, climbing your account on the maps you queue. It is a clean way past the 15K stall while you learn the package at your own pace.
Ancient: own mid, then the site smokes
Ancient is a mid-control map with fewer total angles than Inferno, which makes its utility package the most approachable of the three. Take mid and the round opens up; the rest is two site-execute packages.
The Ancient must-know package
- T mid smoke. The smoke that blocks the CT sightline into mid, letting your team take mid control. This is the Ancient equivalent of the Mirage window smoke – learn it first.
- T A main / red-room smokes. The A-execute package that blocks the off-angles into A site for a clean take.
- T B / cave smokes. The B-execute package that closes the CT rotate and the cave angle.
- T pop flash for entry. A flash to blind the site holder as your entry fragger swings in – the piece that converts a smoked execute into actual kills.
- CT mid molotov + smoke. On defense, the utility that denies T mid control – the mirror of the T mid take.
The pattern across all three maps is identical: the highest-ROI utility is the piece that controls the most-contested area, and that is always a mid or a banana, never a site corner. Learn map control first, site executes second, flashes third. Track whether your utility is actually doing work with Leetify’s utility stats – it reports your utility damage, flash assists, and enemies flashed per match, so you can see whether your nades are winning rounds or just lighting up the killfeed for nothing.
The per-map utility cheat sheet
Everything above in one table. Learn the “first” column before touching anything else on each map.
| Map | Learn first (map control) | Learn second (site execute) | Learn third (entry) | CT-side priority |
|---|---|---|---|---|
| Mirage | Window smoke + connector smoke (take mid) | CT smoke + stairs/ramp smoke | Triple pop flash for A | Window smoke + stairs molotov |
| Inferno | Banana molotov + banana smoke | Coffins smoke (B), arch + pit smokes (A) | Banana / site entry flash | Banana molotov + hold flash |
| Ancient | Mid smoke (take mid) | A main + red-room (A), cave smokes (B) | Site-entry pop flash | Mid molotov + mid smoke |
The economy of utility
Knowing the lineups is half the battle; buying the utility at the right time is the other half. A full set of grenades costs less than a rifle, so on a full-buy round there is no excuse to go in naked – the round you “had” and lost was usually a round you bought no nades for. On eco and save rounds, the opposite is true: skip utility entirely and bank the money. We covered when utility is worth buying and when to bank it in detail, but the short version is buy nades on real rounds, never on saves, and the lineups you learned here actually get used.
Frequently asked questions
What CS2 utility should I learn first?
The smokes and molotovs that control the single most contested area on your main map: Mirage mid (the window and connector smokes), Inferno banana (the banana molotov above all), and Ancient mid. Map-control utility wins more rounds than site-execute lineups because you take that space every round, so it earns value constantly – learn it before anything else.
How many smoke lineups do I actually need per map?
Four or five to climb. The lineup repositories list dozens, but a climbing player only needs the smokes that take map control plus the two or three site-execute pieces. Master those cold, then add depth later – knowing five lineups perfectly beats knowing twenty badly.
Do smokes work differently in CS2 than they used to?
Yes. CS2 uses volumetric smokes that react to the environment – an HE grenade or molotov can burn a temporary hole through a smoke, bullets briefly displace it, and the cloud fills space in three dimensions. That changes both how you deploy smokes and how you and the enemy push through them.
Is utility more important than aim in CS2?
Below the mid rating bands, aim carries you. At the 15K wall and above, everyone can aim and utility becomes the separator – a perfect smoke or flash wins rounds raw aim cannot. Both matter, but utility is the cheaper skill to improve and the bigger climbing lever once your aim is competent.
What is the most important piece of utility on Inferno?
The banana molotov. Banana control decides the majority of Inferno rounds (the r/GlobalOffensive breakdown of why taking banana matters walks through exactly why), and a well-timed molotov stalls or breaks a push there better than any other single piece of utility on the map. Learn it before any other Inferno lineup.
How long does it take to learn a map’s utility package?
A weekend for the starter package of four or five lineups per map, practised in an empty server until they are muscle memory. Mastering them in real matches – throwing the right one at the right moment under pressure – takes a couple of weeks of play on top of that.
Pick your map, learn the map-control utility first, and the 15K wall stops being a wall. Utility is the rare skill where a weekend of focused practice translates directly into rating, because everyone at your level is still trying to win on aim alone. If you would rather have the rating now and drill the lineups on your own time, our CS2 boosting team runs clean per-map Premier climbs with players who already have every one of these lineups down cold. For the current map pool and any smoke-mechanic changes, Valve’s Counter-Strike update notes are the source to check before you trust a lineup.